Let’s be real for a second. You probably think you know exactly how a Pokemon Fire Red version walkthrough should go. You pick Bulbasaur for the "easy mode" start, grind some Pidgeys on Route 1, and eventually spam Earthquake until the Elite Four falls over. It’s a formula we’ve been repeating since 2004. But honestly? Most people play this game like it’s still 1998, forgetting that the Fire Red and Leaf Green remakes introduced mechanics that totally change the math of a "perfect" run.
Kanto is unforgiving if you're lazy. It's easy to get overleveled and then hit a brick wall at Lorelei because your team composition is basically three Fire-types and a dream. This isn't just about getting from Pallet Town to the Hall of Fame; it’s about navigating the weird, specific quirks of the Gen 3 engine that modern games have made us forget.
The Starter Trap and the First Three Gyms
Your choice in Pallet Town dictates the next ten hours of your life. Charmander is the fan favorite, obviously. Everyone wants the fire breathing dragon. But if you’re looking for a smooth Pokemon Fire Red version walkthrough experience, Charmander is basically a self-imposed "Hard Mode." Brock’s rocks will crush you. Misty’s Starmie will outspeed you and turn your lizard into a puddle with Water Pulse.
Bulbasaur is the objective king of the early game. It resists the first two gyms and survives Lt. Surge. Squirtle sits comfortably in the middle. But here’s the thing: by the time you reach the late game, the "easy" choice starts to fall off because Poison/Grass typing leaves you wide open to Psychic and Ice moves. You have to think long-term.
Once you’ve got your starter, get through Viridian Forest fast. Don't waste time catching a Metapod unless you really want a Butterfree for Sleep Powder utility. You’re heading to Pewter City. Brock is a gatekeeper. If you picked Charmander, you better hope you caught a Mankey on Route 22 and leveled it up enough to learn Low Kick. Otherwise, you’re just clicking Scratch and praying for a miracle.
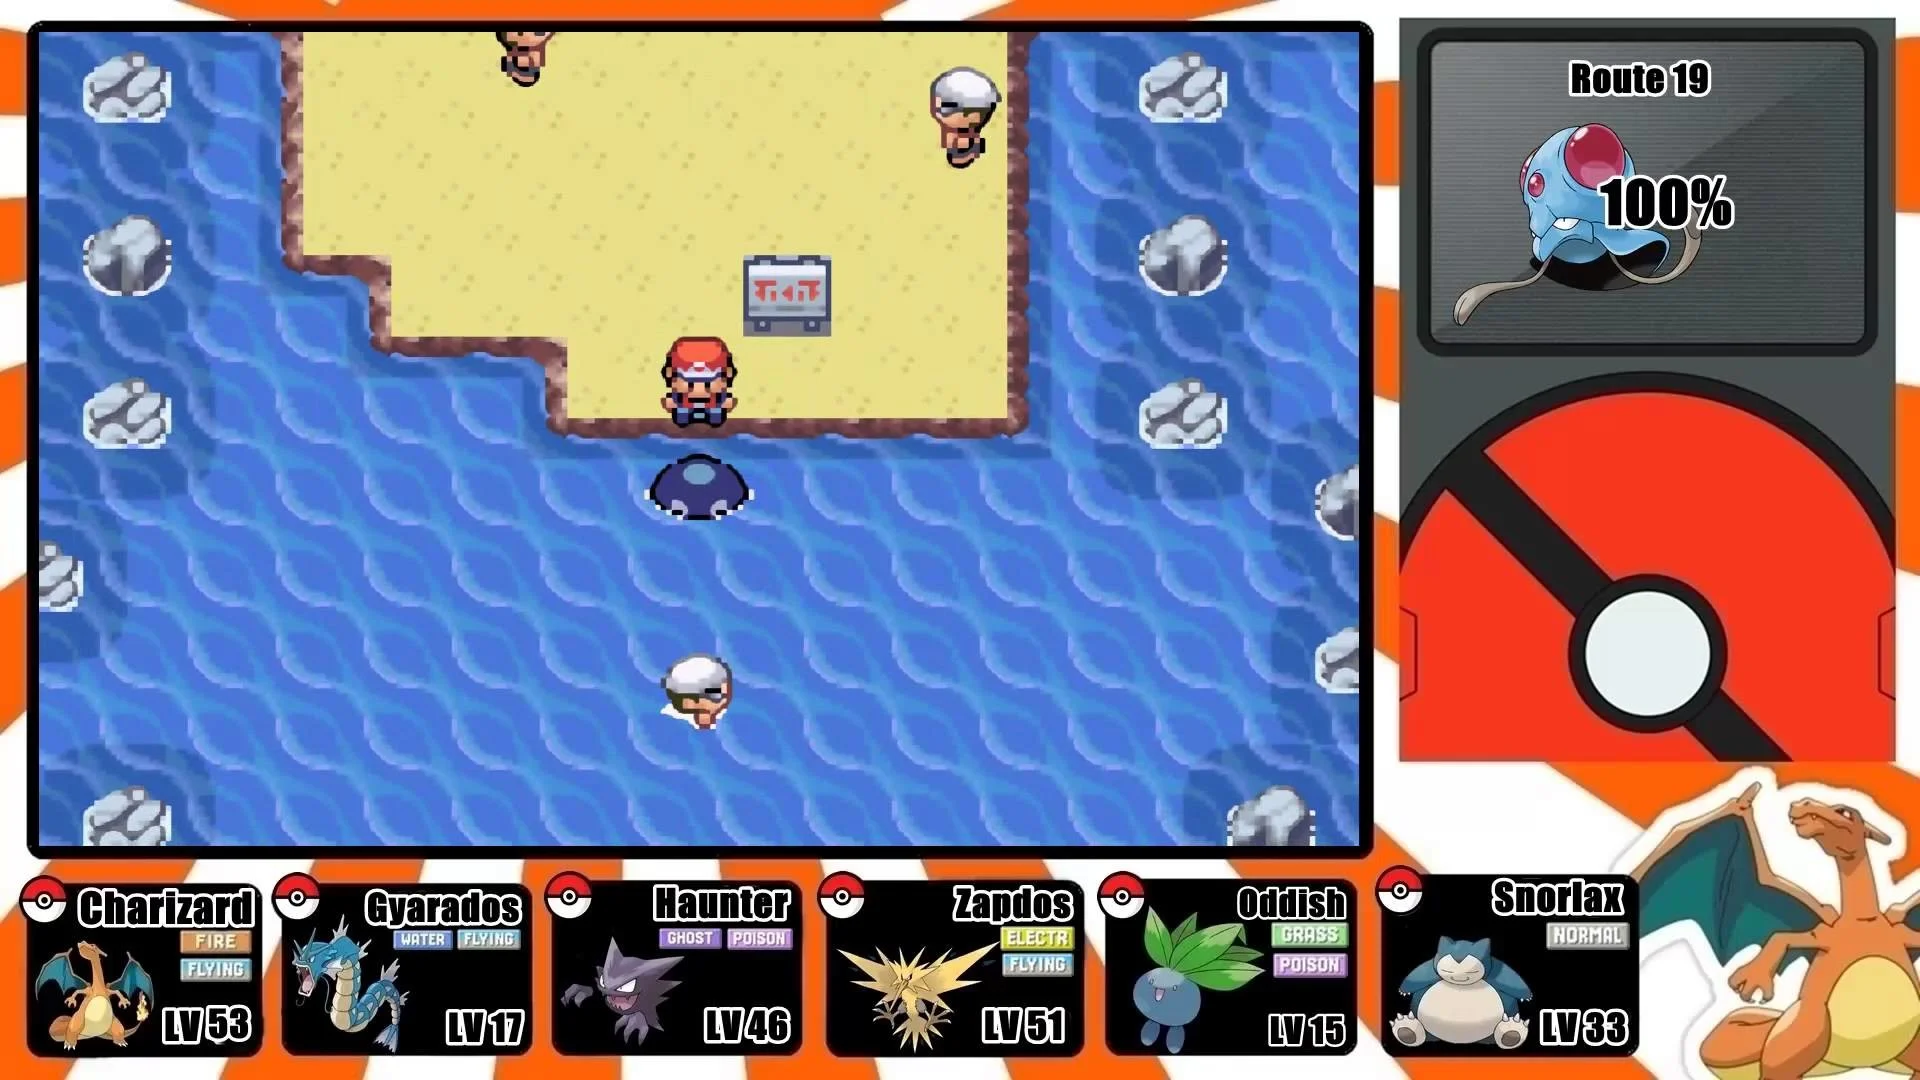
Why Mt. Moon is Secretly the Most Important Part of the Game
Mt. Moon sucks. We all hate the Zubats. Every three steps, screech, another bat. But if you're following a tight Pokemon Fire Red version walkthrough, this is where you secure your mid-game power.
Forget the fossils for a second. Look for the Moon Stone. If you’ve got a Nidoran (Male or Female, though Nidoking is generally the powerhouse), you can have a fully evolved, final-stage monster before you even see the third Gym Leader. A Nidoking with Thrash or Double Kick this early is basically a cheat code.
Also, don't sleep on the TM for Water Pulse after beating Misty. It’s tempting to save it, but putting it on a versatile Pokemon early can save you from a lot of grinding. Misty’s Starmie is notorious for a reason. It uses "Recover." It’s fast. It’s mean. If you don't have a Gloom or a Jolteon ready, that Starmie will sweep your entire team. Seriously.
The Mid-Game Slump: From Surge to Koga
Once you get the S.S. Ticket from Bill (who is currently a Clefairy, which is still weird no matter how many times you see it), you’re on the S.S. Anne. Get Cut. Leave. Don’t linger.
The stretch between the third and sixth gym is where most players lose momentum. You have to deal with the Rock Tunnel, which requires Flash. Pro tip: don’t waste Flash on a Pokemon you actually like. Catch a Voltorb or something and make it your "HM Slave." It’s a brutal term, but it’s a Kanto tradition.
Navigating the Celadon Game Corner
Everyone wants Porygon or Dratini. Most people end up spending three hours gambling or farming coins. Honestly? Buy the TMs instead. Ice Beam and Thunderbolt are infinitely more valuable than a Dratini that won't evolve into Dragonite until you're basically at the credits.
- Thunderbolt: Essential for your Starmie or Jolteon.
- Flamethrower: If you didn’t pick Charmander, this is how you get Fire coverage.
- Ice Beam: The only way you’re beating Lance later on.
The Saffron City Bottleneck
Silph Co. is a nightmare of teleporters. You’ll spend forty minutes walking into the same room with the same scientist. You need the Card Key. It's on the 5th floor. Get it, then head to the 11th floor to beat Rival [Name] and Giovanni.
Speaking of the Rival, his team scaling in Fire Red is actually quite clever. He always has a balanced core. If you don't have a reliable answer for his Pidgeot or his Alakazam, he will chip away at your team until you have nothing left for the Gym Leaders.
The Psychic Problem
In the original Red and Blue, Psychic types were broken. In Fire Red, they're still terrifying, but we have the Dark type now (even if there aren't many Dark moves). Sabrina’s Alakazam has a Special Attack stat that will melt anything it touches. You need physical attackers. A Snorlax with Body Slam is your best friend here. You get two chances to catch Snorlax—don't mess it up. Use a Great Ball or the Master Ball if you’re desperate, though save the Master Ball for Mewtwo or a Roaming Legend if you can.
The Sevii Islands: The Remake’s Greatest Gift
A lot of old-school players finish the seventh gym and head straight to Viridian. Stop. This is a crucial part of any modern Pokemon Fire Red version walkthrough. Bill will take you to One, Two, and Three Island.
Do not skip this.
This is where you find the Ruby and Sapphire items later, but more importantly, it’s a massive XP farm. The trainers here are stronger than the ones on the mainland. If your team is hovering around level 40, the Sevii Islands will push you to 50 before you even face Giovanni’s Ground-type gym. Plus, catching a Moltres at Mt. Ember is a nice bonus if you need a legendary heavy-hitter.
Prepping for the Elite Four: The Math of Victory
Victory Road is a test of endurance. Bring Max Repels. Use Strength. Push the boulders.
When you finally reach the Indigo Plateau, your team needs to be at least level 55. If you're lower than that, Lorelei will eat you alive. Her Ice/Water types are the primary "run-killers" in Fire Red.
- Lorelei: Use Electric or Fighting. Don't use Grass; her Ice moves will 4x effective your Venusaur.
- Bruno: He’s a joke. Honestly. A single Pidgeot or Alakazam sweeps him. Moving on.
- Agatha: She uses Poison types disguised as Ghosts. Psychic moves are king here. Just watch out for Confuse Ray.
- Lance: This is where that Ice Beam TM from the Game Corner pays off. His Dragonites hate Ice. If you don't have Ice, you're looking at a very long, very painful war of attrition.
The Champion fight is a mirror match. He has whatever you're weak against. If you have Arcanine, he has Blastoise. It’s the ultimate test of your Pokemon Fire Red version walkthrough strategy. The key is switching. Don't stay in on a bad matchup. Gen 3 AI is smarter than Gen 1, and it will punish you for being stubborn.
Post-Game and the Real Ending
Beating the Champion isn't the end. You still need to finish the Sevii Island sub-quest to unlock trading with Ruby, Sapphire, and Emerald. You need to find the Lorelei sub-plot on Four Island and eventually chase down Team Rocket at their warehouse on Five Island.
Only after you return the Sapphire to Celio can you access the Cerulean Cave. This is where Mewtwo lives. Mewtwo is level 70 and will wreck your team if you aren't prepared. This is what you saved that Master Ball for. Don't be a hero. Just throw the purple ball.
Actionable Takeaways for Your Run
- Don't Grind Wild Pokemon: It’s a waste of time. Use the VS Seeker (given by the girl in the Vermilion City Pokemon Center) to rebattle trainers. They give more XP and money.
- The Snorlax Strategy: Catch the Snorlax blocking the path. It’s one of the best tanks in the game and can learn almost any TM.
- Type Coverage Over Levels: A level 45 Jolteon is more useful against the Elite Four than a level 60 Charizard that only knows Fire moves.
- Hidden Items: Use the Itemfinder. Kanto is littered with Rare Candies and Leftovers that are literally invisible on the ground.
Kanto is a classic for a reason, but it's also a product of its time. It’s quirky, occasionally frustrating, and demands a bit of planning. If you follow these steps, you won't just finish the game; you'll dominate it. Now get out there and show Blue why he's always going to be second best.